
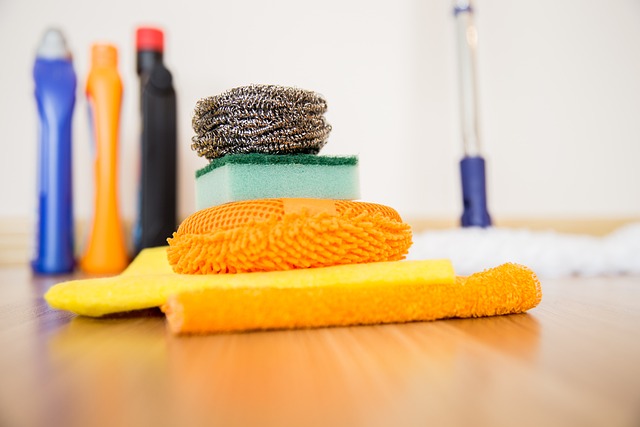
Let’s be honest, cleaning your home can be a daunting task. It’s a never-ending battle against the dirt and grime that constantly accumulates. But are you sure you’re doing it right? You may be making some common cleaning mistakes without even realizing it. Don’t worry; we’re here to help you avoid those pitfalls and make your cleaning routine a breeze. Let’s dive into some of the home cleaning mistakes you might be making.
Not Reading Labels
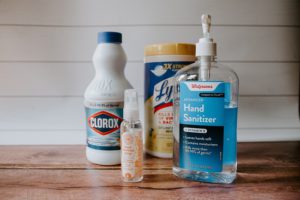
We all have those cleaning products we swear by, but are you reading the labels? Make sure you’re using them correctly and safely. Some products require specific dilution ratios or can’t be used on certain surfaces. Save yourself some trouble, and take the time to read the labels before you start scrubbing.
Ignoring Ventilation
When cleaning, ventilation is often an afterthought, but it’s essential for your health and safety. Make sure you’re cleaning in a well-ventilated area, whether it’s opening a window or turning on a fan. Using strong chemicals without proper ventilation can be harmful to your lungs and skin.
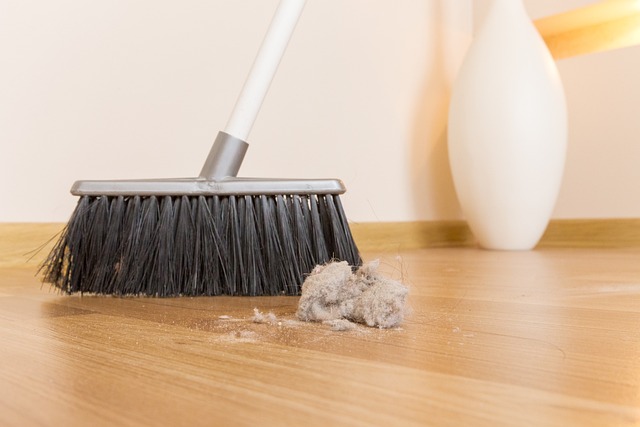
Forgetting to Dust Before Vacuuming
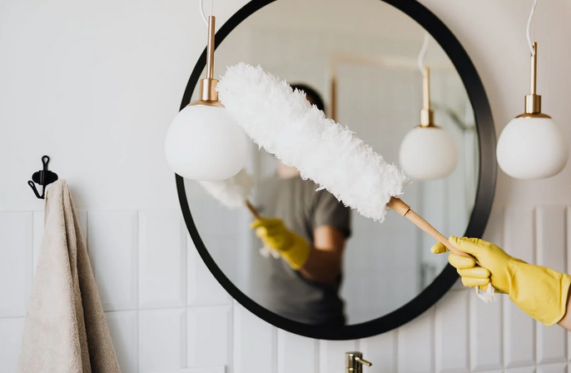
Dust is a common culprit for allergies and respiratory issues, so getting rid of it before it accumulates is essential. Make sure you’re dusting surfaces before you vacuum so you’re not just pushing them around. Remember to use a microfiber cloth or a dusting tool not to spread the dust even more.
Not Cleaning Your Cleaning Tools
Cleaning your home requires tools, but are you taking care of them properly? Make sure you’re regularly cleaning and sanitizing your cleaning tools. This includes things like sponges, clothes, and mops. You don’t want to spread bacteria and germs around your home while trying to clean it.
Using Too Much Water
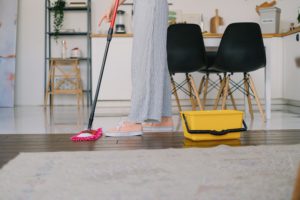 We get it, water is the solution to everything. But when it comes to cleaning, using too much water can actually cause more harm than good. Excess moisture can lead to mold and mildew growth, especially in areas like the bathroom or kitchen. So, make sure you’re not overdoing it with the H2O.
Using the Wrong Cleaning Method
Not all surfaces are created equal, and neither are the cleaning methods. Make sure you’re using the correct cleaning method for each surface you’re cleaning. For example, using a harsh abrasive on a delicate surface can cause scratches and damage. Similarly, using a gentle cleaner on a tough stain won’t do much to help.
Not Rinsing Thoroughly
When it comes to cleaning products, make sure you’re rinsing them off thoroughly. Leaving any residue behind can be harmful, especially when it comes to products that you use on surfaces you eat off of. Take the time to rinse everything off completely so you’re not putting yourself or your family at risk. Cleaning your home doesn’t have to be a hassle. You can avoid making common mistakes by reading labels, using the right cleaning method and tools, and rinsing thoroughly. Follow those simple tips, and you’ll have a spotless home in no time.
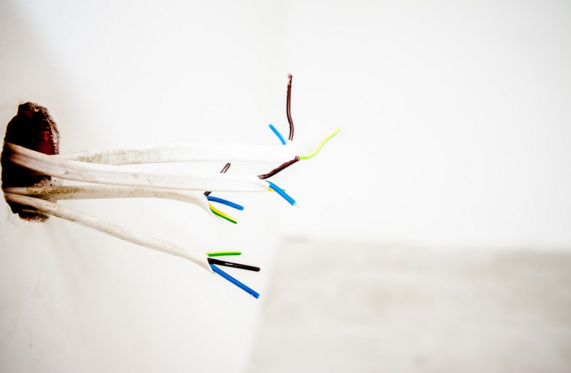
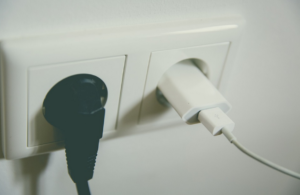 Another common cause of electrical fires is overloaded outlets. This can occur when too many devices are plugged into an outlet, causing the breaker to be overloaded and trip. If this happens repeatedly or if the breakers aren’t functioning properly, it can lead to overheating and ultimately start a fire. To prevent this, ensure you’re not plugging too many devices into a single outlet and that your outlets are not overloaded. Additionally, if you notice any sparks or burning smells coming from an outlet, turn off the power to it immediately and contact an electrician for help. If you are short on outlets, getting a professional to install additional outlets in your home is best.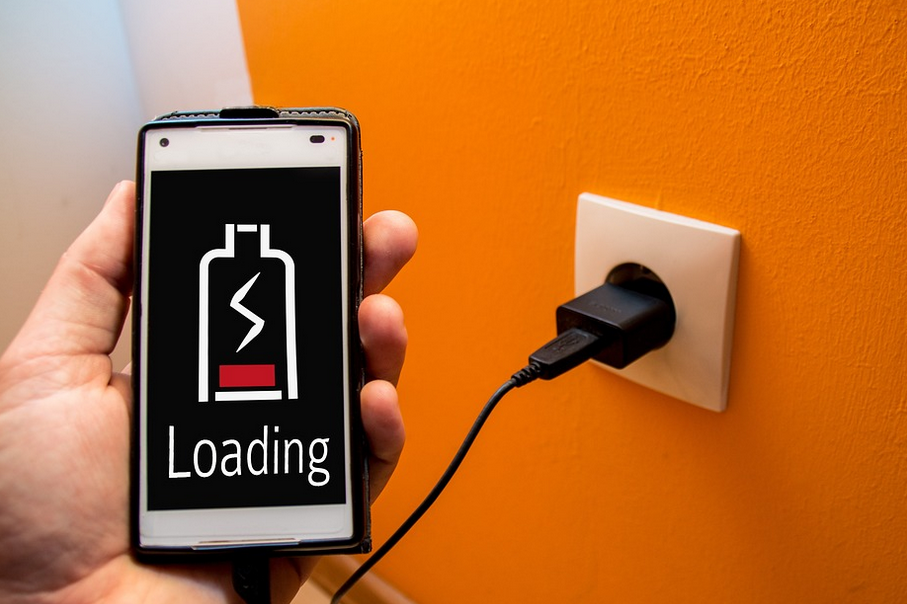
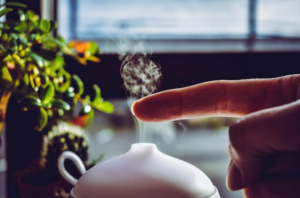 Air purifiers help to remove dust mites and other particles from the air. To ensure that you get rid of all dust mites in your home, it is important to choose an air purifier with a HEPA filter. These filters can trap up to 99% of small particles, including dust mites, pollen, and pet dander. If you are new to air purifiers, you can read reviews online to find out which one is the most suitable for you. Make sure that you purchase one from a reputable brand. Depending on the size of your living space, you may need to buy more than one purifier.
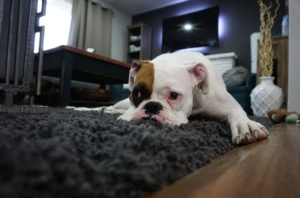 Replacing your carpets can drastically reduce the number of dust mites in your home. Carpets and rugs are a big source of dust mite infestations, so opting for hardwood floors or tile instead is the best way to get rid of them. If you don’t want to go through with this option, then you can invest in a good vacuum cleaner that is specifically designed to pick up dust mites. Some people even get them professionally cleaned.