
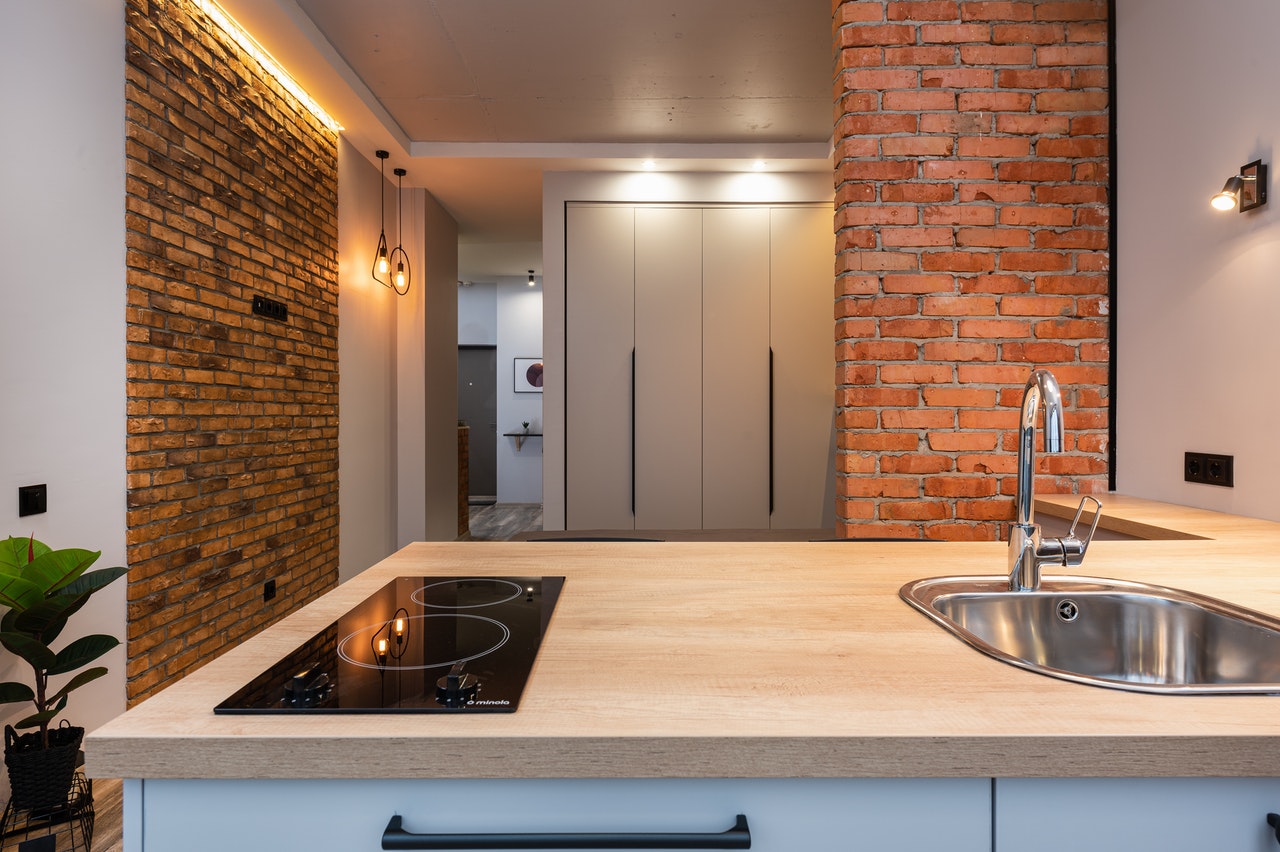
If you have a custom butcher blocks countertop in your kitchen, you know how beautiful and unique they can be. However, like all types of wood, butcher block countertops require some maintenance to keep them looking their best. In this blog post, we will discuss some tips for maintaining your butcher block countertops to stay beautiful and durable for years to come.
Clean off Your Countertop Right Away
 One of the most important things you can do to maintain your butcher block countertop is clean it immediately after using it. This will help prevent any stains or spills from falling into the wood. You can use a mild soap and water solution to clean your countertop or purchase a specialty cleaner made specifically for wood countertops. Be sure to dry your countertop off after cleaning it to prevent any water damage.
If you do happen to spill something, be sure to wipe it up right away and dry the area thoroughly. Standing water can cause warping and other damage to your countertop.
Always Have Food Grade Mineral Oil on Hand
You will need to replenish the oil every few weeks and more frequently if you do a lot of cooking. It’s best to keep a bottle on hand so you can apply it as soon as the surface starts to look dry. When it comes to oiling, more is not better. Just put a few drops on a clean, lint-free cloth and wipe it across the surface of the wood. Wipe off any excess. You should also oil your butcher block before using it for the first time. This will help create a barrier against moisture and staining. To do this, generously apply oil to the surface and let it soak in for at least 30 minutes. Wipe off any excess and you’re ready to start cooking.
Use Lemon, Salt, and Dough Scraper
 If you’re looking for a quick and easy way to clean your butcher block countertop, look no further than your kitchen pantry. You only need some lemon juice, salt, and a dough scraper. Sprinkle the salt over the countertop’s surface and then use the dough scraper to scrub away any dirt or grime. The lemon juice will help to disinfect the countertop and leave it looking shiny and new.
So there you have it, a quick and easy way to clean your butcher block countertop. Be sure to follow these tips regularly and your countertop will thank you for it.
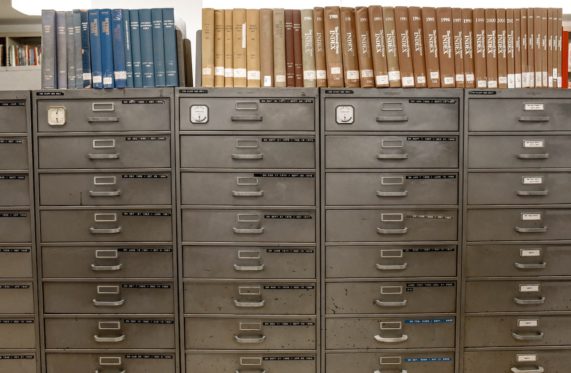
 Gone are the days of worrying about keys getting lost or stolen with a rolling storage cabinet that features an electronic locking mechanism. This feature provides added security to your valuable documents and office supplies. An electronic code is easy to set up and can be personalized to fit your specific needs. You can easily change the code at any time, making it ideal for those who have multiple people accessing the same cabinet.
 One important feature you can’t neglect when shopping for a rolling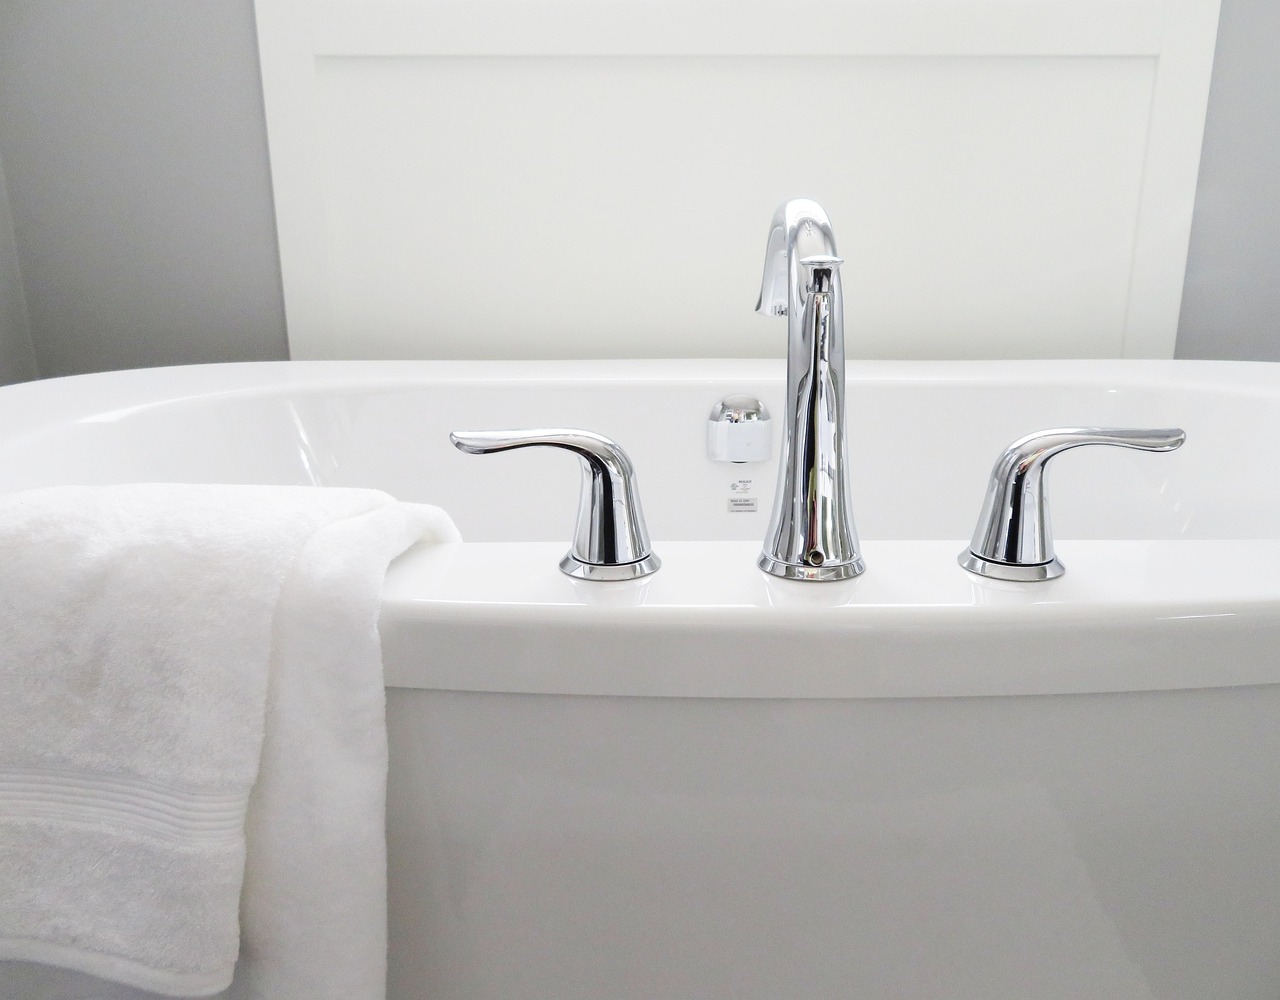
 One of the most significant advantages of converting your tub to a shower is the increased accessibility it offers. Traditional tubs can be challenging for people with mobility issues, making daily routines cumbersome and risky. Showers often come with low or no thresholds, allowing for easy entry and exit. This design minimizes the chances of slips or falls—common concerns in wet environments. Additionally, many modern showers feature grab bars and built-in seating options, providing extra support during use. These elements not only enhance safety but also promote independence for those who may need assistance.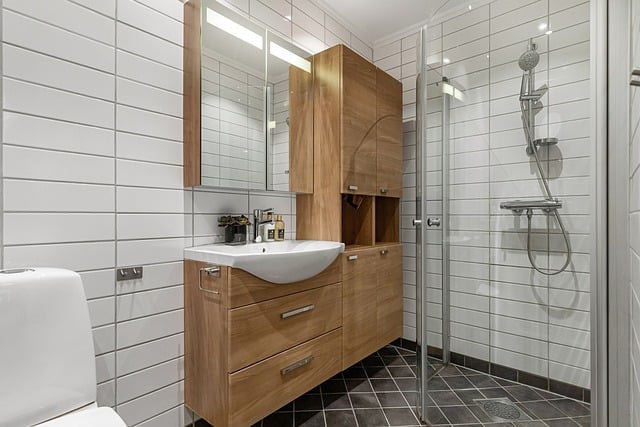
 A tub-to-shower conversion can significantly boost your home’s appeal. Many buyers prioritize modern amenities today, and a sleek shower fits the bill better than a bulky bathtub. This transformation enhances aesthetics and aligns with current lifestyle trends. More people are opting for quick, efficient showers over lengthy baths. Potential buyers may find this upgrade particularly enticing, especially in smaller houses where space is at a premium. A well-designed shower can create the illusion of more room, adding to that coveted open-space feel. Additionally, energy-efficient fixtures can be integrated into the new design. This helps reduce water usage and signals cost savings to prospective homeowners.
 We get it, water is the solution to everything. But when it comes to cleaning, using too much water can actually cause more harm than good. Excess moisture can lead to mold and mildew growth, especially in areas like the bathroom or kitchen. So, make sure you’re not overdoing it with the H2O.